Welcome to A Newsletter #26, where I am truly pushing the boundaries and stretching the definition of “after 5 pm”. If you’ve found your way over by some miracle but are not yet subscribed, here, let me help you with that:
The cinnamon roll structure has always confused me, especially if we are thinking of them as a “breakfast food” (for me, they are most definitely a dessert). The smear of butter, brown sugar, and cinnamon is great for the internal sweetness and the iconic, swirly, peel-apart journey it takes you on. By all accounts, that should have been “enough.” But somewhere along the way, we decided to either frost them like a cake (why) or drizzle them with a flavorless, milky-white substance which has never done anything for me visually or otherwise. But I get it, our human lizard brains are programmed to enjoy STICKY things and SHINY, GLAZED things and FROSTED things, and when cinnamon rolls come out of the oven, regardless of what’s going on inside, look….well, dry.
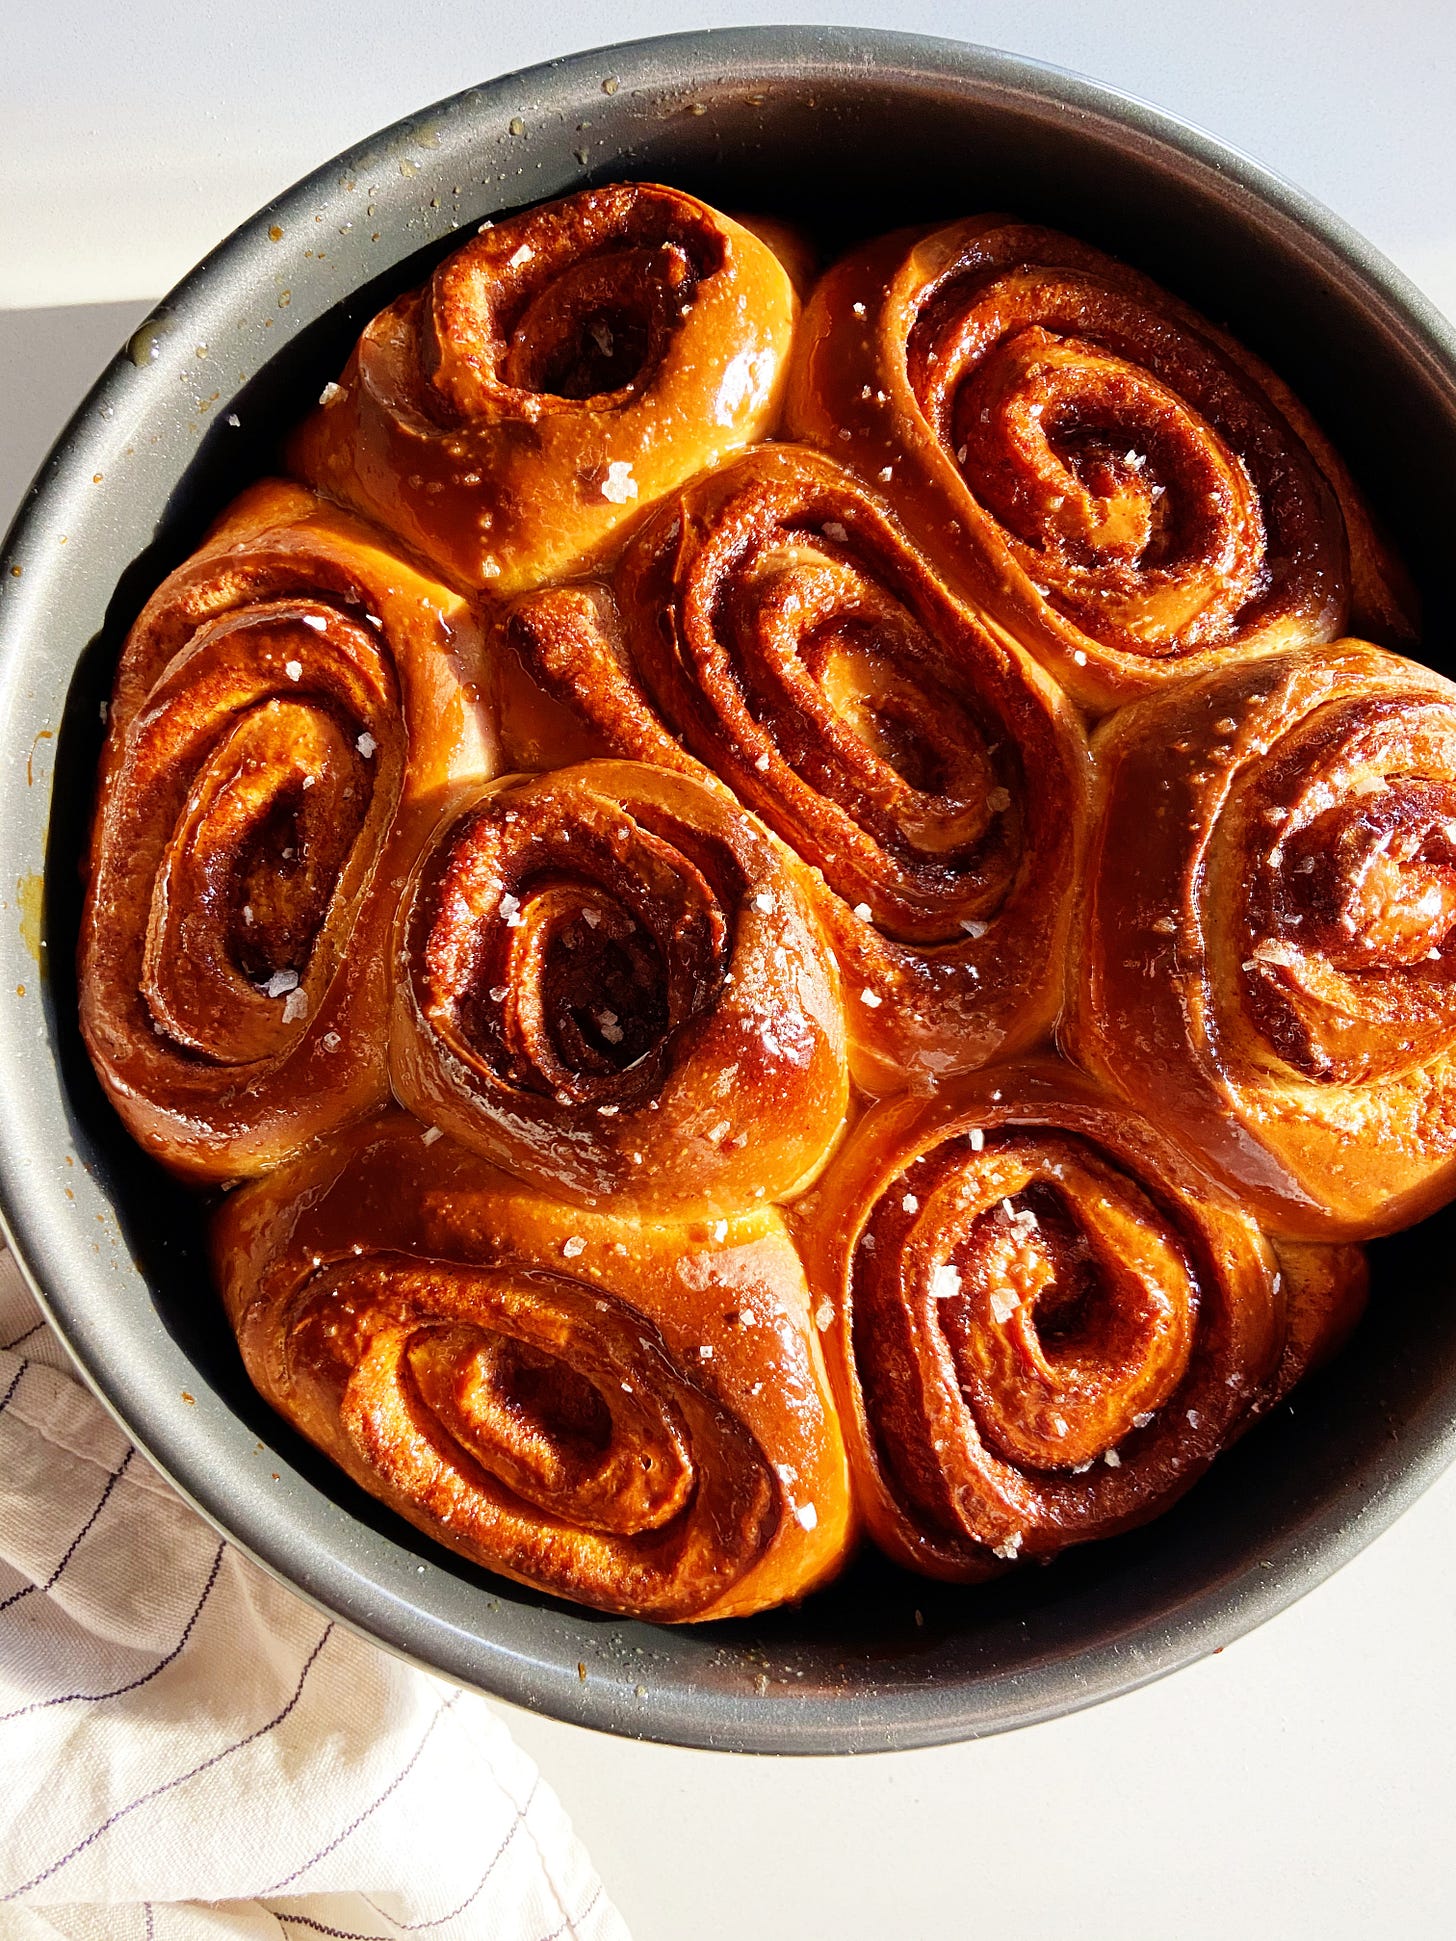
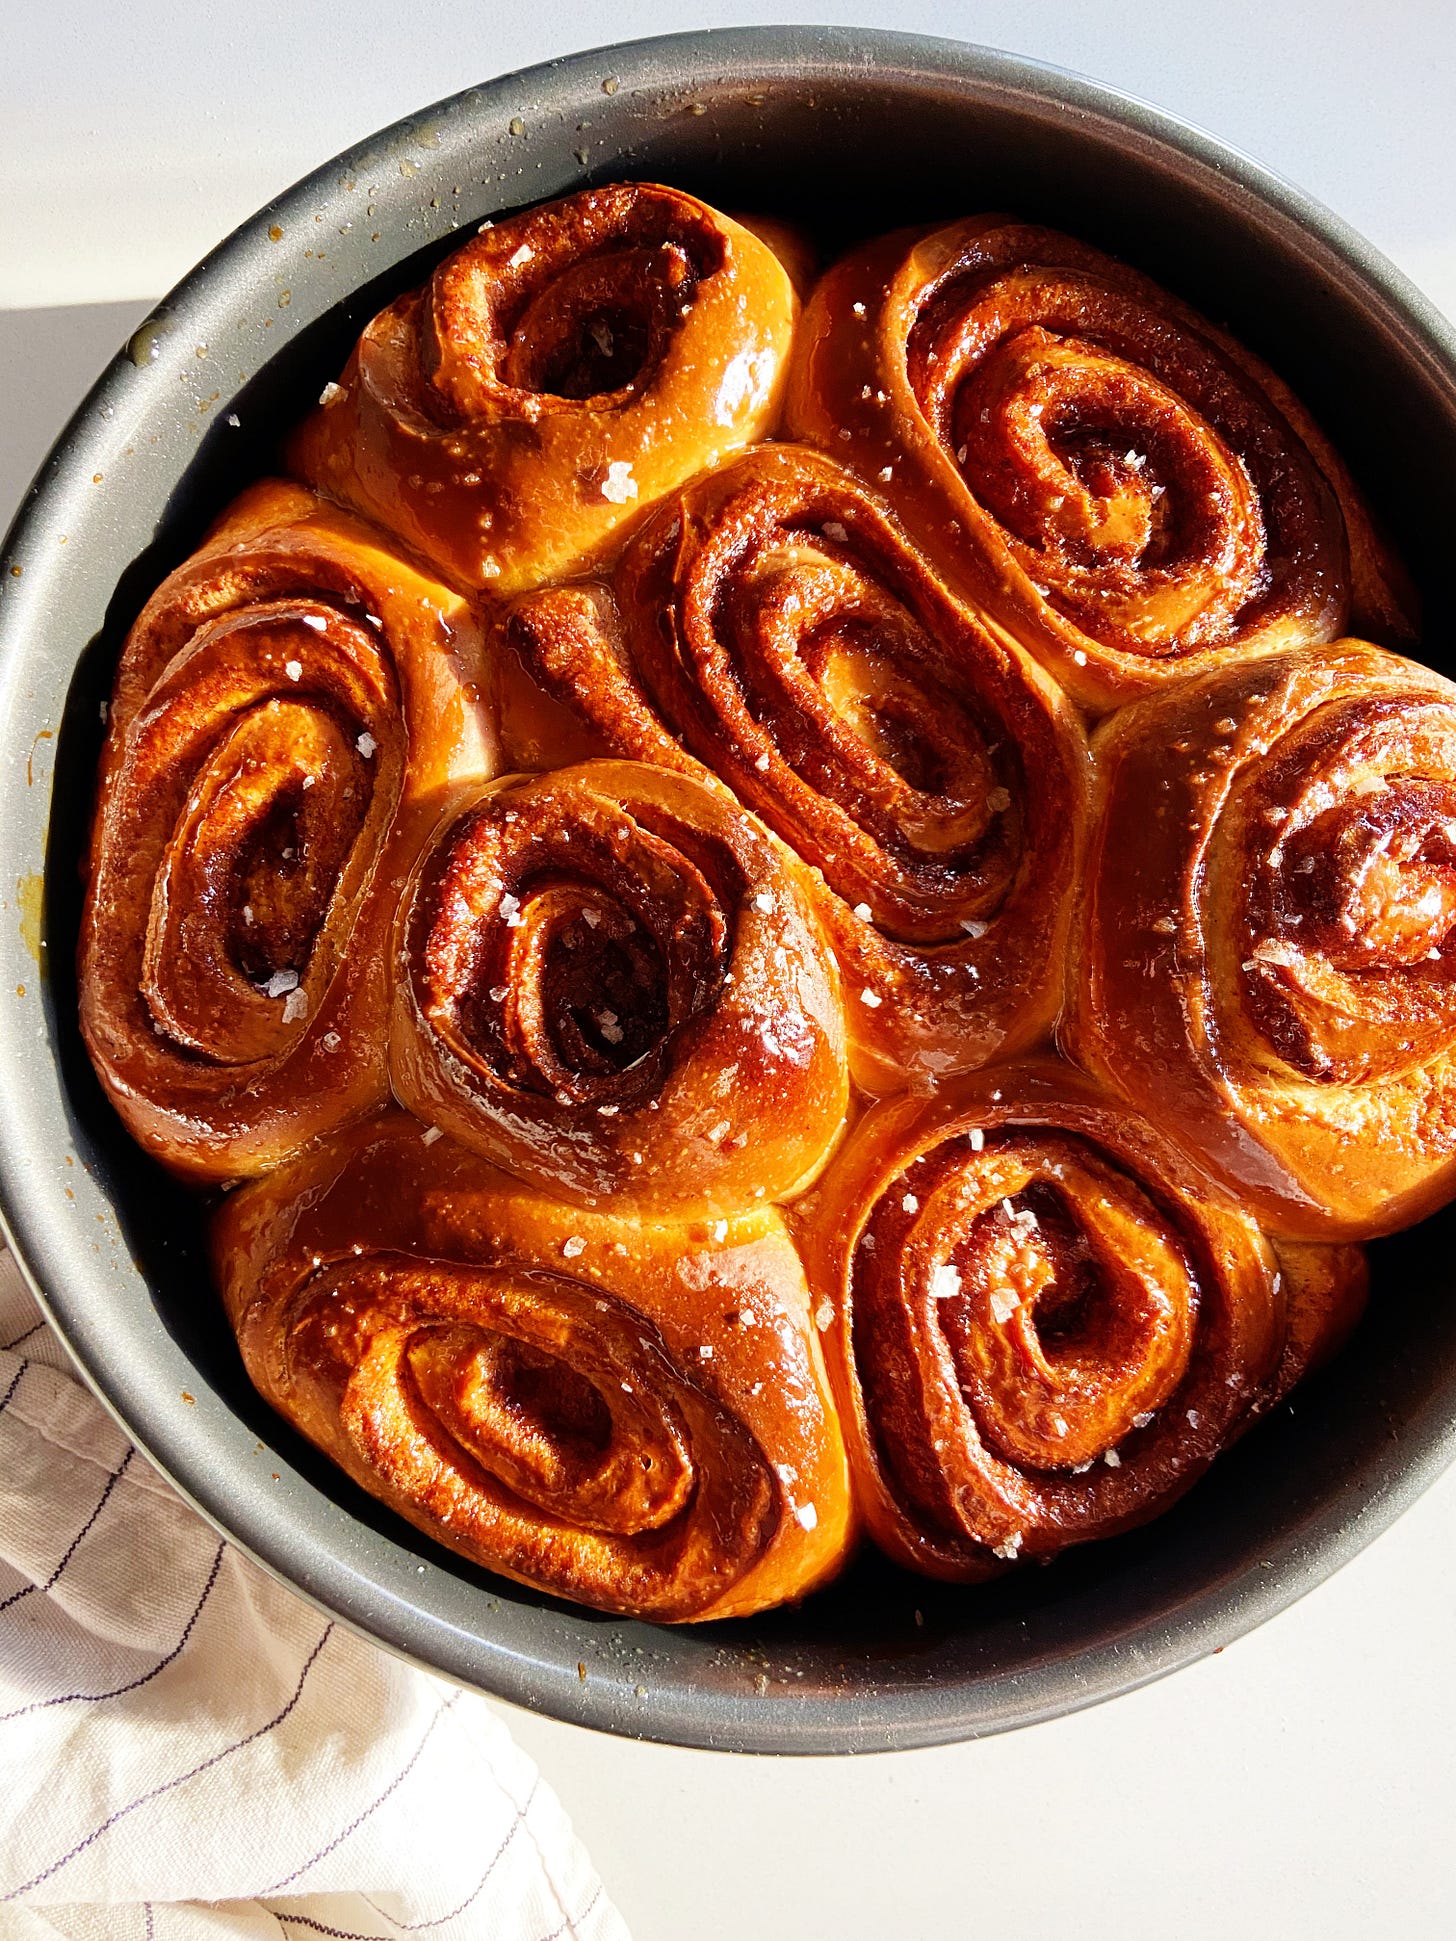
Here, I have solved this issue for me personally by adding maple syrup to the bottom of the pan these rolls bake in, then brushing them with maple syrup on top immediately out of the oven (not unlike a babka). This makes them sticky-in-a-good-way but without those soft nuts ruining everything. Does that make it a sticky bun instead of a cinnamon bun? Wait, are we calling these cinnamon buns instead of rolls? I don’t think so (sticky buns classically have nuts on the bottom and are served inverted, for those keeping track of what’s what).
The end result for these rolls in particular is somewhere between a sticky bun and a cinnamon bun with an energy that can only be described as Cinnamon Toast Crunch.
It feels important to let you know that in the name of research, I have eaten these rolls at every stage. The dough (raw), the dough (baked), fresh from the oven, hours later, days later, frosted, unfrosted, glazed, unglazed. When cinnamon roll week intersects with getting your period, that’s amoré, the Latin word for “your body feels bad, have another cinnamon roll, it will not help.” I, unfortunately, will never be eating another cinnamon roll ever again in my entire life, but glad to be going out on top.
Some things to note about this recipe:
I use buttermilk because I think it makes for a more tender, more flavorful dough. I have also tested with whole milk and pleased to report both work.
You don’t have to heat the buttermilk (or the milk). Yes, the packet of active dry yeast might tell you to dissolve it in warm water to make sure it’s alive, but I would only suggest this if you’re using yeast that you found in the back of your fridge from six summers ago (actually, if your yeast is older than two years, please just throw it away and get some new yeast).
The dough is VERY sticky. So sticky I would even go so far as to call it….wet. It will not knead like a brioche so do not expect it to be smooth, shiny, or elastic straight from the mixer. After an overnight trip to the fridge, it will firm up and become something rollable without needing much flour, just like magic. PLEASE trust me on this.
If after reading this you are still concerned about how your dough looks, please double check your flour measurements, and if you are very sure, okay, you can add a few tablespoons of flour (that will not ruin anything and if it will help you sleep at night, FINE!).
I divided my rolls to make TWO smaller pans of rolls instead of ONE LARGE pan. I did this because what the hell am I going to do with one large pan of cinnamon rolls? Also, I just felt like classically, they (the cinnamon rolls) are simply too large. Eating one took me out for several hours and I have work to do. That said, of COURSE, you can bake them in one large pan.
Not for nothing, two pans also feels more practical these days and I live for practicality. Two pans = the second pan can be gifted! The second pan can be put it in the fridge and baked up to two days later! If I had to guess, you could probably even FREEZE the second pan to bake at a later date, but I have not tested this theory!
If you don’t have a stand mixer, you can attempt to make this dough by hand (I don’t like to say anything is impossible), although it will require quite a bit of kneading and the dough is sticky, so be prepared for a messy, uphill battle. The only difference is you’ll need to melt the butter instead of slowly incorporating it while cold.
As I mentioned above, turns out I like cream cheese frosting on carrot cake and that’s about it. My thoughts on icing? Icing is the curly parsley and orange wedge on a diner breakfast, which is to say of course I’ll eat it, but will I enjoy it? Probably not. To me, these rolls are best all alone and definitely don’t need to be slathered with frosting or drizzled with icing of any sort.
If you would like something to listen to while you make these rolls this weekend (or whenever, really), this playlist really got me to a good place with all the proofing and rolling and baking. I think this makes me your dad now!
STICKY CINNAMON ROLLS
Makes 12 rolls
This is a long recipe, both in how long they take to make (the dough should chill/proof for 12-24 hours!) and in length (17 steps!). I know. But maybe think of it as a meditative project, a soothing activity. Read the recipe. Spend time with it. Consider the roll. I think you will find that it really IS the journey, not the destination (just kidding, it is absolutely about the destination).
FOR THE DOUGH
1 cup whole milk or buttermilk (240g)
¼ cup sugar (50g)
2 ¼ teaspoons active dry yeast (1 envelope)
3 ¾ cups all-purpose flour (540g)
1 ½ teaspoons baking powder (6g)
1 ½ teaspoons kosher salt (5g)
2 large eggs
1 stick (½ cup) unsalted butter (113g), cold or room temperature, cut into ½” pieces
FOR THE FILLING
1 cup light brown sugar (220g)
¾ teaspoon kosher salt (3g)
1 tablespoon ground cinnamon (8g)
½ cup (1 stick) unsalted butter (113g), softened or melted and cooled, plus more for greasing the pan as needed
Non-stick spray (optional)
⅔ cup maple syrup (225g), divided, plus more for brushing on top
Flaky salt (optional)
FOR THE DOUGH
1. Whisk buttermilk (or milk), sugar, and yeast together in the bowl of a stand mixer fitted with the dough hook attachment.
2. Add the flour, baking powder, and salt. Mix on low speed until the dough starts to come together into a dry, shaggy mess. Add the eggs, one at a time, and mix on medium speed until you’ve got a smooth, sticky dough with no visible dry spots (you may want to stop the machine, scrape the bottom of the bowl with a spatula or dough scraper to make sure all the dry bits of flour are getting incorporated).
3. With the mixer running, add the butter a few pieces at a time, letting the butter incorporate before adding more pieces. Eventually, the dough will take all the butter, disappearing into a silky, sticky mass. Knead this on medium speed for 3 to 4 minutes.
4. Transfer the dough into a greased (with non-stick spray, softened butter or neutral oil) medium bowl and immediately cover with plastic. Place in the refrigerator for 12–24 hours (during this time, the dough is slowly rising which develops excellent flavor, the flour is hydrating which firms the dough up, and the butter is resolidifying, making everything easy to roll out).
FOR THE FILLING AND ASSEMBLY:
Once you’re ready to bake, prepare the filling and your workspace for THE ASSEMBLY (i.e. make sure you have a clean countertop, free of clutter to properly roll out the dough).
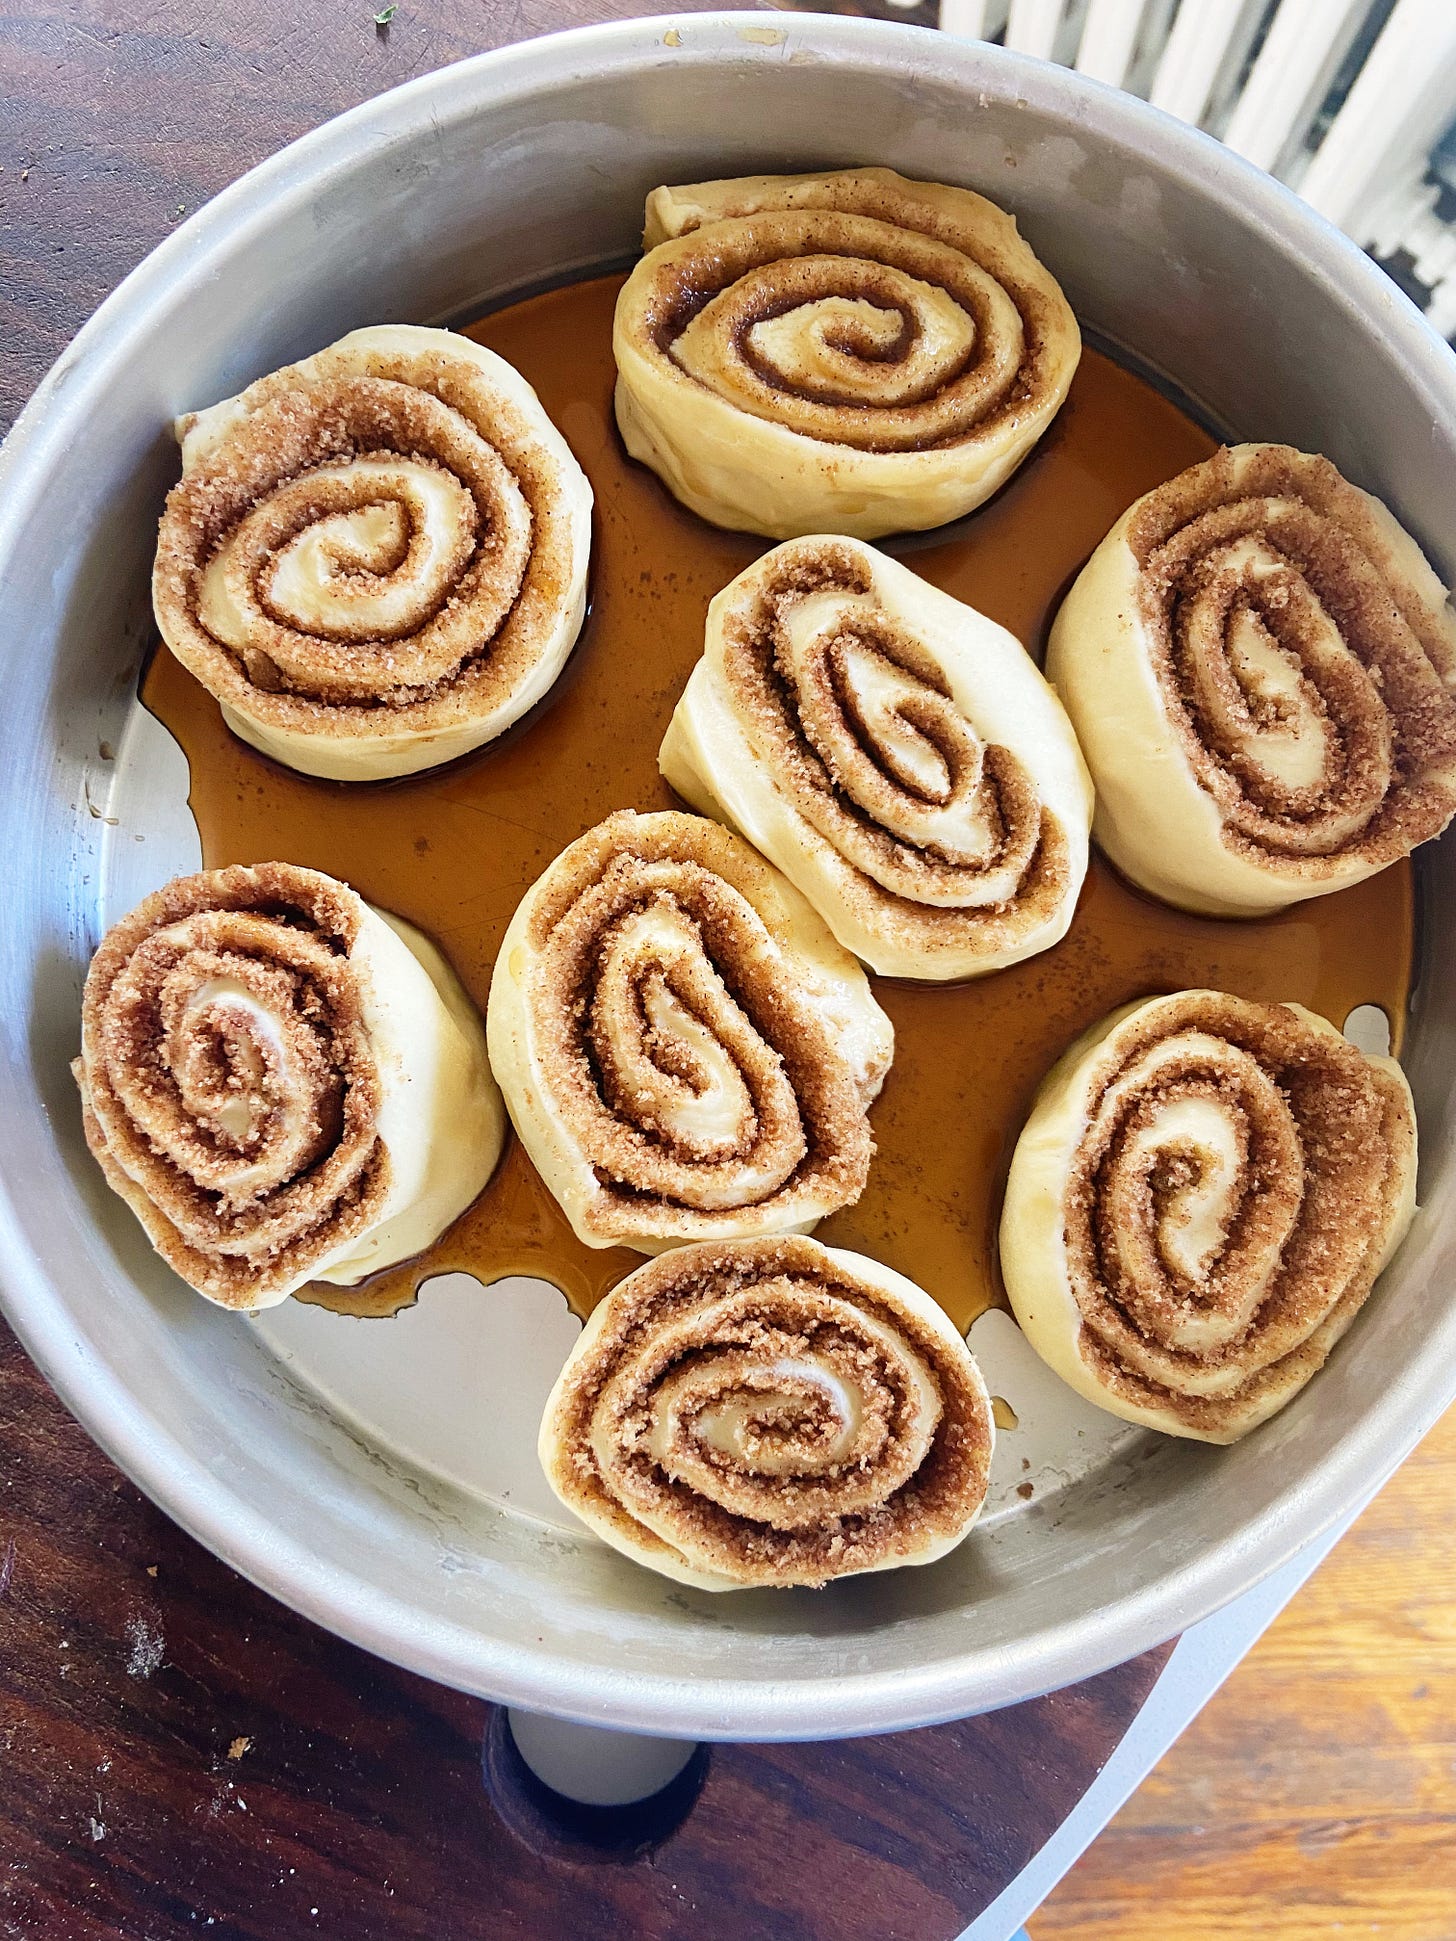
5. Grease a 9” x 13” or 3 qt. baking dish with non-stick spray or grease with softened butter. Pour 2/3 cup maple syrup and swirl to coat the bottom; set aside. (Alternatively, grease up/maple syrup one 9” cake pan and one 8”x 4” loaf pan).
6. Combine light brown sugar, cinnamon, and salt in a medium bowl; set aside.
7. Remove the dough from the fridge. It should be firm, and not at all sticky (see?! magic). Lightly flour your work surface (ditch the cutting board, go straight onto your countertop), and turn the dough out.
8. Using a rolling pin (I love mine from Herriott Grace) or wine bottle or whatever, roll the dough, flouring only as needed (a light dusting here and there will not hurt), roll to about 12” long and 24” wide.
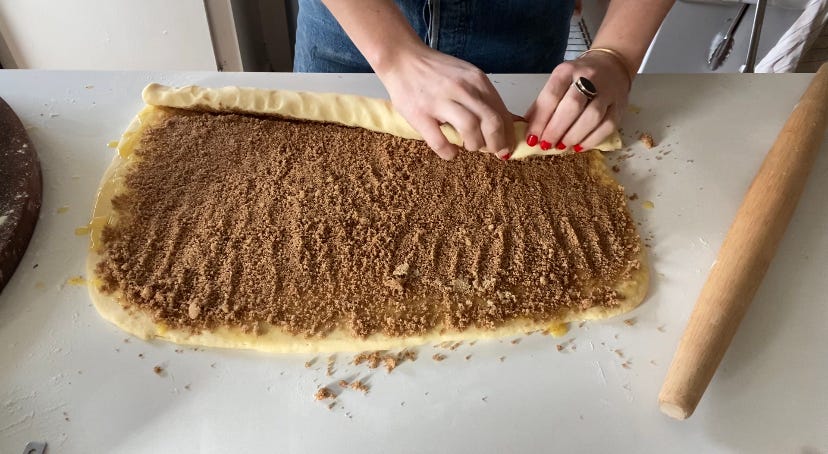
9. Using an offset spatula or back of a spoon if your butter is softened (or pastry brush if it’s melted), spread the butter onto the full surface of the dough. Scatter the brown sugar mixture on top and like you’re playing in the sand, run your hand over it to make sure it’s as lightly packed and evenly distributed as possible.
10. Starting at the edge closest to you, roll the dough up, pressing and tucking lightly to eliminate the possibility of air pockets. Try to work quickly here, as the dough will have been out of the fridge for a while and the butter will likely begin to soften which will make it trickier to work with. Don’t rush but…..you know.
11. Cut the dough in half so you have two pieces, roughly 12” each.
12. Working with one piece at a time, cut each log of dough into six 2” pieces. Do not worry if your slices look weird and misshapen-- they will plump up and issues will resolve themselves as they proof and bake.
13. Place cinnamon rolls in your baking dish or cake pans. They should be pretty spaced apart and might appear a little sparse or lonely-- don’t worry, they will get closer as they proof and even closer when they bake.
14. Cover each pan with plastic wrap (if saving one for later, place it in the fridge now).
15. Preheat oven to 350°. Place your wrapped pan of cinnamon rolls in a gently warm place (on top of the oven, fridge or radiator are popular places) and let the rolls proof, looking puffy and almost doubled in size, 30–35 minutes— they should definitely all be touching now. (If your rolls are coming directly from the fridge, this may take closer to 50–60 minutes.)
16. Place buns in the oven and bake until they are puffed, deeply golden brown on the edges and into the centers, 35–40 for the 9x13 baking dish, and closer to 30–35 for the cake pans. They should feel firm when tapped, but still a little squishy towards the center. (Not to freak anyone out, but an underbaked cinnamon roll will be gummy and a little deflated, and an overbaked cinnamon roll will be dry and too hard to enjoy, so I hate to say: this part is important).
17. Once out of the oven, immediately brush cinnamon rolls with a bit of maple syrup. Not so much to try and “soak” them, more just “glaze” them. This must happen when they are hot, otherwise, the maple syrup will just stay “wet” instead of “sticky.” Sprinkle with salt and let cool slightly before eating.
DO AHEAD: These are really best eaten the day of, but as I mentioned, I wrapped them tightly and continued to eat them for a while and was pretty happy with the results. If I had more self-respect or were feeding someone else, I’d probably go through the trouble of heating them gently in an oven to warm them through, but I can tell you that’s not entirely necessary.
CINNAMON BUN QUESTIONS? Use that comment thread below! I will pop in to answer what I can, as I wish cinnamon bun success to all!
And, truly, without further ado, KITCHEN ESSENTIALS PART ONE is going out tomorrow to PAID SUBSCRIBERS. It became a whole THING and really just got too long, so it is now a TWO PART series. You love to see (read?) it.
As always, thank you for reading, thank you for subscribing and I’ll see you next week!


looks like a beautiful bouquet
Excited to try these! Any tips for freezing the second half of them?