Hello and welcome to Home Movies Tuesday! If you’ve found your way over by some miracle but are not yet subscribed, here, let me help you with that:
Hello, I hope everyone had a great long weekend. I did many classic Long Weekend Things, including but not limited to:
Eating so many hot dogs. I’d estimate across all three days I had 3 (with bun) and at least 3 (no bun) but would have done more if I had the time. The best hot dogs I’ve ever had come from Solinsky’s in Stamford, NY (near First Bloom!), and no, sadly there is not really a way to get them unless you go there. As per usual, I am a hot dog purist and require three simple toppings: raw onion (thinly sliced red or white, but fine with chopped if that’s what’s on offer), yellow (French’s) mustard, and one pickled or fermented thing (sauerkraut, kimchi, pepperoncini, pickled jalapenos or chopped dill pickle). Please see this hot dog video for reference as you plan your next hot dog party, which I highly recommend.
Went to an East/West baseball game at the baseball hall of fame in Cooperstown, NY because my husband loves baseball and I love my husband #tradwife
Drank alcohol (various types), which really does turn to poison as soon as you turn 37.
Went antiquing and bought a few outdoor planters and several wooden bowls (my whole personality).
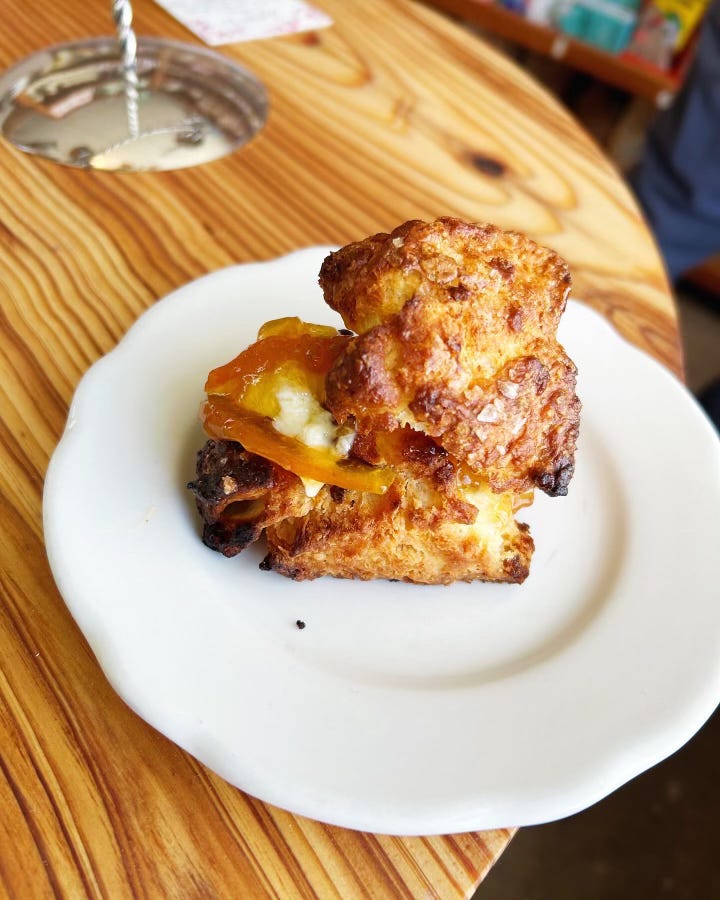
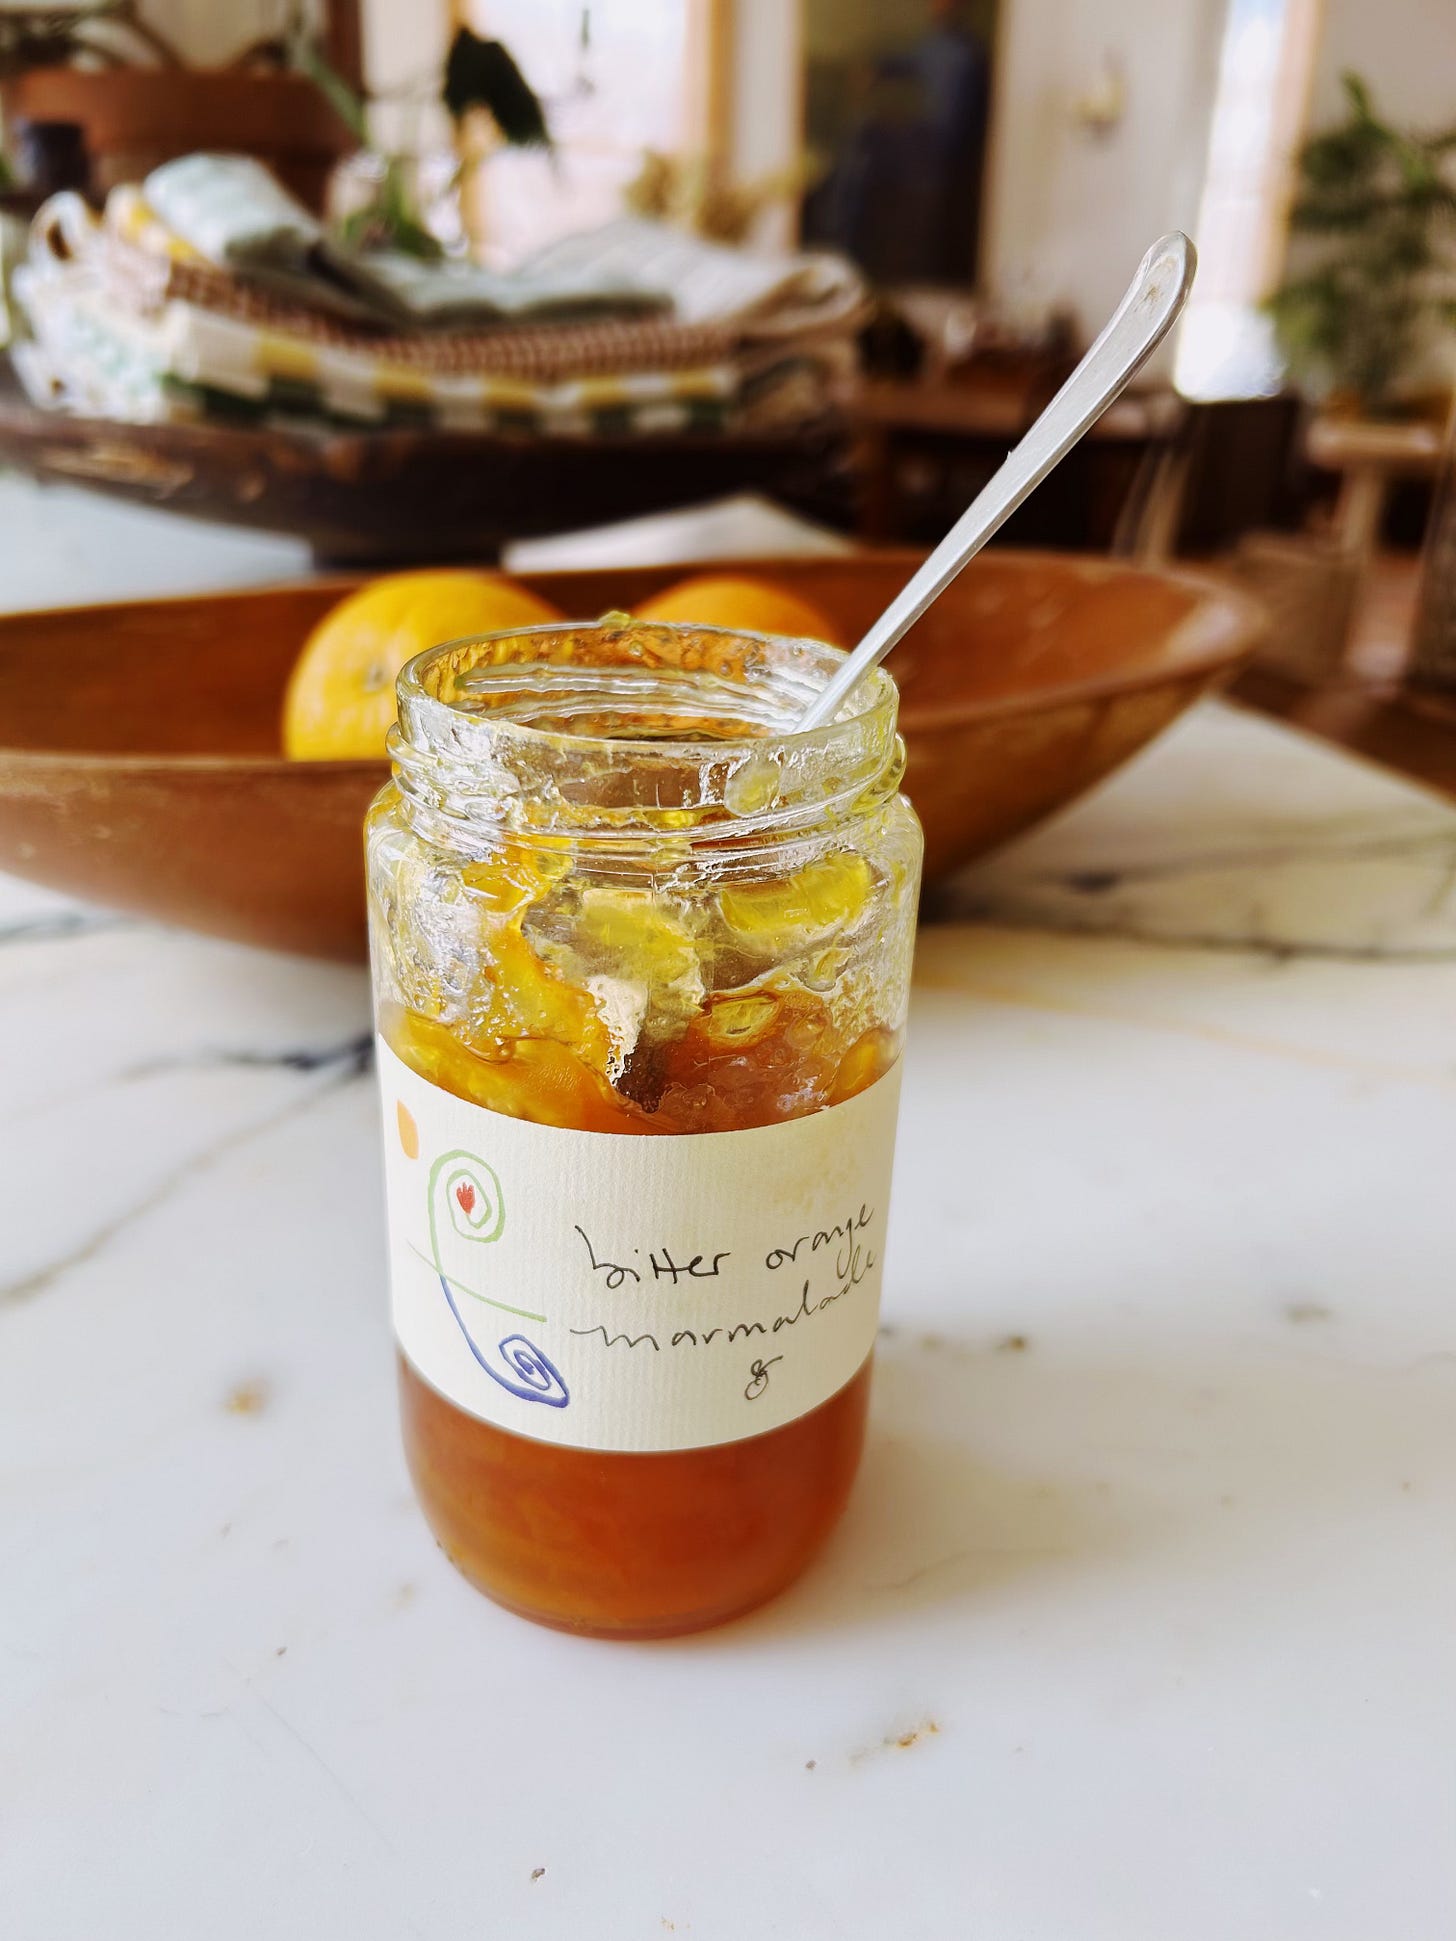
Made biscuits. Every Saturday and Sunday we sell biscuits at First Bloom. Our manager, Dylan, is an incredible baker and made them one weekend on a lark, and now we are fully committed to supplying a small and specific pocket of upstate New York with weekly biscuits—until they run out, usually around noon. We serve them with a good schmear of nice salted butter and a healthy spoonful of our jam or marmalade (whatever we happen to be making at the time). People drive anywhere from 5 minutes to 1 hour for these biscuits, which is really so nice. Admittedly, it is tough to beat a warm biscuit with perfect jam.
I can’t believe I suggested anyone “host a brunch” but I reviewed the tapes and I absolutely did. Okay! This WOULD be great “for brunch”! And while it looks like I’m just eating a biscuit alone for brunch in this video, know that it was actually lunch thank-you-very-much, which is still an appropriate time to eat biscuits with jam alongside fried eggs and bacon, hot sauce and maybe a little salad on the side.
Two things about the video:
1. I didn’t really let the dough rest in the fridge as long as I could have, because we had a schedule to stick to and I avoid “swaps” and pre-production of the food when I can. Home Movies is and always has been a food styling-free, cooking/baking in real time situation. Anyway, they rested for about 30 minutes, not quite long enough to get those sharp edges I was talking about. That said, you can either slice and bake immediately (will just be aesthetically more “rounded”), or chilling for 1 hour and up to 48 in the fridge before slicing and baking (aesthetically more “sharp”).
You can also freeze the biscuits–freeze either in the large piece of dough before slicing (defrost it overnight in the fridge before slicing and baking), or you can slice and freeze individually and bake from frozen (add 5–8 minutes to baking time if baking from frozen).
2. I brushed the tops with more buttermilk (since I already had it out and didn’t feel like using one precious egg for the egg wash), which gives a deeply caramelized top, just not as shiny as an egg wash. Both are good, but if there’s an egg allergy, just know you can use buttermilk/heavy cream instead.
For the full recipe, read on.
Director: Doron Max Hagay / Producer: Graham Mason / Photography Director: Eric Schleicher / Audio: Yves Albaret
Camera Operator: Alex Bliss / Camera Operator: Will Colacito / Editor: Maya Tippett / Graphics: Gordon Landenberger

Luckiest Biscuits in America
Makes 8 biscuits
Biscuit making is a practice, a recipe you begin to feel rather than follow. Like pie dough, they’ll only get better every time you make them, but starting with a great recipe will help. This one does not require a food processor, because I believe flat, shaggy pieces of butter create flakier layers than small, pebble-like bits, and it uses two types of leavening in conjunction with buttermilk for foolproof lift.
3 cups/450g all-purpose flour, plus more for dusting
1 tablespoon baking powder
2 teaspoons kosher salt
1 ½ teaspoons sugar
¼ teaspoon baking soda
1 cup/8 oz. (2 sticks) unsalted butter, cut into 1-inch pieces, chilled
1 ¼ cups buttermilk, plus more for brushing
Flaky sea salt, for sprinkling (optional)
1. Preheat the oven to 425°F. Line a baking sheet with parchment paper.
2. Whisk the flour, baking powder, kosher salt, sugar, and baking soda in a large bowl. Using your hands, smash the butter into the flour mixture. It should be almost like you’re making pie dough (you’ve made pie dough before, right?), with little bits of butter but no large chunks.
3. Drizzle half the buttermilk all over the dry mixture and, using a wooden spoon or, better yet, your hands, mix everything until it comes together. Add the remaining half of buttermilk and mix until it comes together into a sort of ball. Knead the mixture a few times in the bowl, making sure to get any of those dry bits at the bottom up into the mix.
4. Turn the dough out onto a lightly floured work surface and knead another two or three times.
5. Pat the dough into a 1 ½-inch-thick rectangle about 9 inches long and 5 inches wide. (Optional: Refrigerate for 1–48 hours ahead of time before slicing and baking.) Cut it in half lengthwise, then crosswise into 4 pieces (you should get 8 biscuits). Alternatively, you can pat the dough into a 1 ½ -inch-thick disk (or whatever shape) and punch out 2-inch circles.
6. Place the biscuits on the parchment-lined baking sheet and brush the tops with buttermilk, letting some drip down the sides. Sprinkle the tops with flaky sea salt, if you’re feeling fancy.
7. Bake, rotating once, until the biscuits are deeply, fantastically, wonderfully golden brown on the bottoms and tops, and the sides have puffed up like an accordion, 20 to 25 minutes.
8. Remove from the oven and let cool slightly before destroying.
Do ahead: Biscuit dough can be made 2 weeks ahead, wrapped, frozen. You can bake them from frozen—just add 5 to 8 minutes to the bake time.
Stovetop Jam
Makes 4 cups/1 liter; 4 half-pint/250ml jars
While jam often feels like sugar thickened with fruit, this here is a celebration of the fruit itself, cooked just long enough to get rid of excess moisture with just enough sugar to highlight its texture and flavor. While I do enjoy a low-sugar jam, it’s not quite as good a candidate for canning. (The sugar in jam acts as a preservative.) That said, “not canning” has never once stopped me from making jam; I just got into the habit of keeping it in the fridge instead of the pantry.
4 pounds/1.8kg blueberries, raspberries, or blackberries; or 4½ pounds/2kg strawberries
(hulled and quartered), peaches, nectarines, plums, or apricots (pitted and chopped)
3 cups/660g sugar
¼ cup/60g fresh lemon or lime juice (about 2 lemons or limes)
1. In a large heavy-bottomed pot, toss the fruit and sugar together. Let sit at least 15 minutes, up to overnight, tossing periodically to dissolve the sugar (this will help coax the juices out of the fruit to give the jam a head start).
2. Bring the fruit to a strong simmer over medium-high heat, until the juices start to boil, 3–4 minutes.
3. Reduce the heat to medium and continue cooking. Using a wooden spoon or spatula, stir the jam occasionally at first, then more frequently as the jam cooks and juices thicken (see Note). Cook until most of the liquid has evaporated and the fruit has started to break down to the point you’d start to call it “jammy,” 40–50 minutes. How much it breaks down will depend on the fruit (e.g., strawberries and peaches are likely to remain chunkier while raspberries and apricots will break down almost entirely).
4. Add the lemon juice and continue to cook, stirring constantly, until the jam has returned to its previously thickened state, another 8–10 minutes. Test the jam by spooning a bit of jam onto a plate and pop it into the fridge for a few minutes, then drag your finger through it—it should hold its shape without appearing watery or runny. If it’s not there yet, cook a few minutes more. (Some fruit, like strawberries, contain more water and less natural pectin than, say, a raspberry. So the jam may never be quite as thick or gelled, but will nevertheless be delicious.)
5. Remove from the heat. Using a ladle (carefully! The jam is very hot!), divide jam among 4 half-pint/250ml jars and seal immediately. Let come to room temperature on your counter before refrigerating (or canning).
Do Ahead: The jam can be made 2–3 months ahead and stored in the refrigerator.
For marmalade recipe, head here.
I looked in my closet and realized my summer wardrobe is pretty much button-downs and crochet tops. Inside me are two wolves, etc. I’m wearing this Milane Top by Sézane in this episode.
When making jam, I prefer a large, wide pot (versus something like a stock pot). It allows for more even evaporation and a quicker cook time for the jam. This is the standard 8qt pot I use for pretty much everything: brothy beans, chicken soup, jam and marmalade.
I know I don’t advocate for single-use tools all that often, but if you bake even casually, you will want a pastry brush for egg wash (which you need for: chocolate chunk shortbread cookies, galettes, pies, biscuits, scones, etc.). This can be an official “pastry brush,” or a simple paintbrush from the hardware store. I avoid silicon brushes (I find the application clumpy and uneven and they hold onto smells easily, which I hate) and opt for natural fibers instead.
See you Thursday for a bonus episode of Solicited Advice for paid subscribers only. We discuss:
The difference between sliced, chopped, microplaned and crushed garlic
What to bring to a sparsely stocked rental / vacation house
My favorite everyday bra (? lol you asked!)
Best foods to bring to friends who are not feeling well/just had a baby/recovering in some fashion from something.


I couldn’t like this fast enough!!
Would these biscuits be good for Biscuits and Gravy? Dad loves B&G